

Self-Hosted Server Project
Overview
This project began as a personal initiative to build a reliable self-hosted environment that could replace common cloud-based services while offering full control over both data and infrastructure. The primary objective was to create a centralised system that would manage personal file storage, host a website, and support additional containerised services as needed.
Skills Learned
Throughout this project, I gained hands-on experience with Proxmox installation and configuration, including deploying and managing virtual environments using both containers and full VMs. I learned to set up and integrate self-hosted applications such as Nextcloud and WordPress, manage local and remote DNS, and implement secure tunnelling. I also worked through hardware modifications, RAID storage configuration, and container-level application linking with tools like Docker and OnlyOffice.
Tools and Tech Stack
The core hardware consists of an HP ProDesk 400 G4 SFF running Proxmox VE. Applications like Nextcloud and WordPress are hosted using TurnKey Linux containers, while additional services such as OnlyOffice are deployed via Docker. Storage redundancy is handled through a RAID 1 mirror, and remote access is managed using secure Cloudflare services. This combination provides a reliable, lightweight platform capable of hosting a variety of services for personal use.
Project Log
Phase 1: Initial Build and Cloud Setup
December 2023
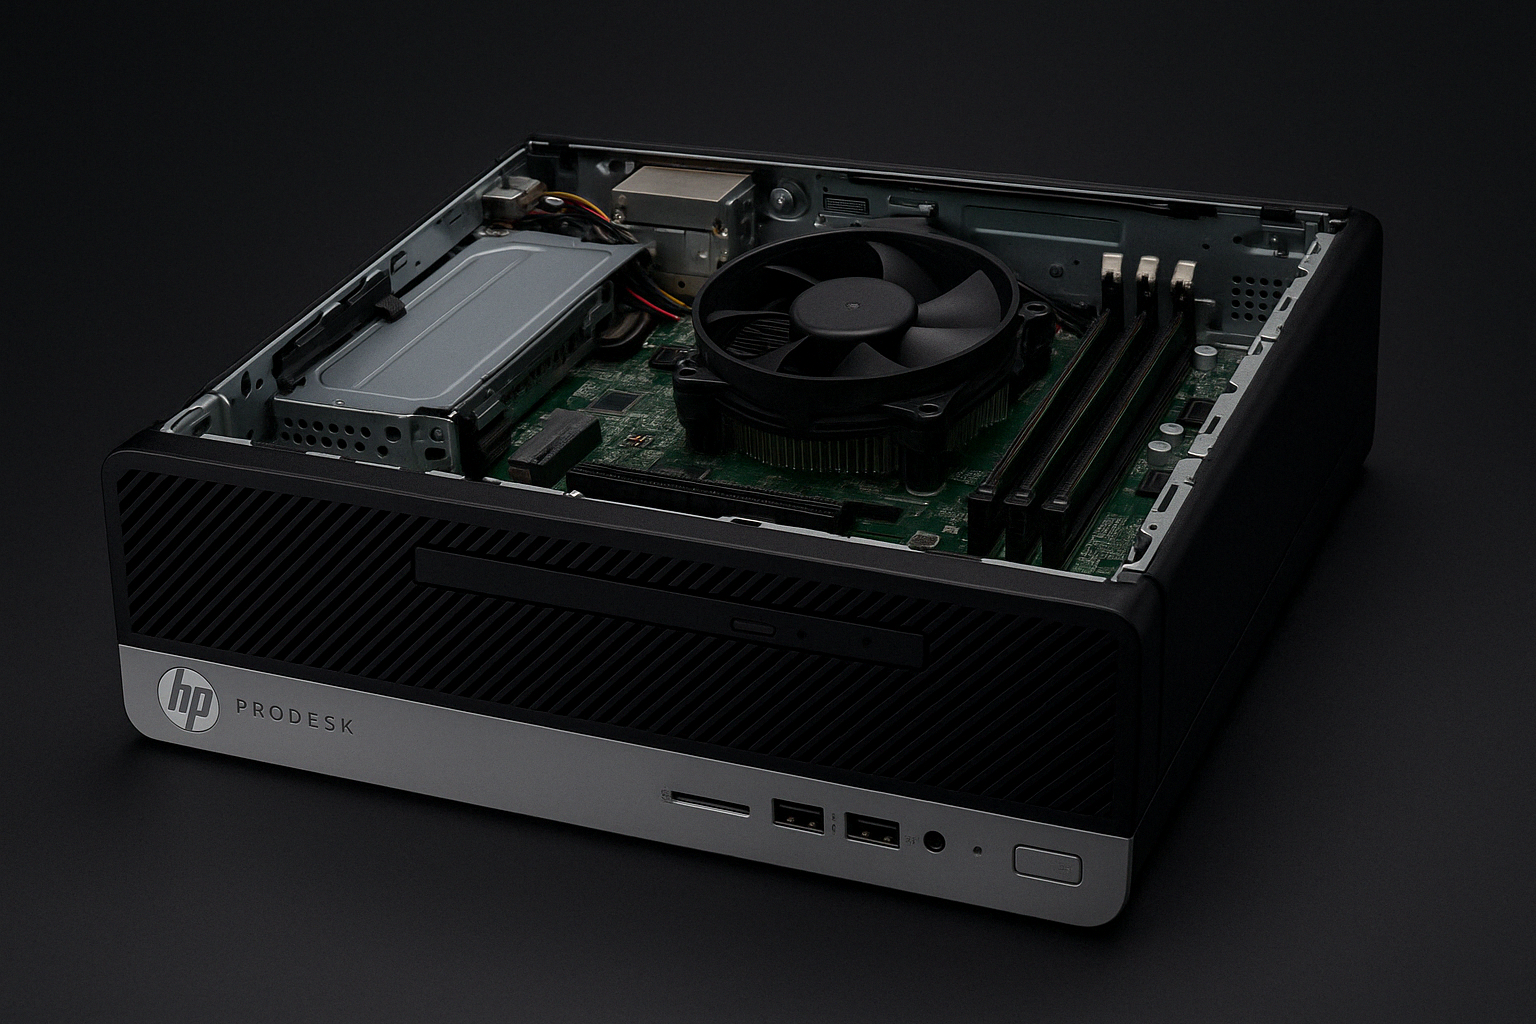
The project began by repurposing a used HP ProDesk 400 G4, purchased through eBay. It came with an Intel i5-7500 and 8GB of RAM, which provided a solid starting point for running lightweight virtual machines and containers. Before installing any software, I made a few key hardware changes to tailor the system for self-hosting.
Before installing any software, I made a few hardware changes. The original hard drive was removed, and the unused optical drive bay was repurposed with a 2.5-inch SATA SSD, mounted using a bracket. This SSD was set aside to serve as the dedicated system disk for operating system. Two 4TB Seagate Iron Wolf NAS drives were also installed to act as the main data storage pool.
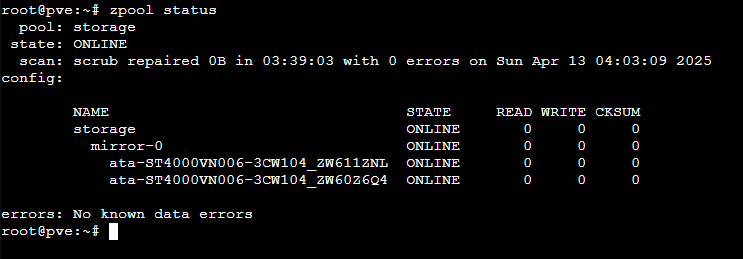
With the hardware in place, I created a bootable USB using Rufus and installed Proxmox VE onto the SSD. Once Proxmox was up and running, I configured a software RAID 1 array using the two NAS drives through Proxmox’s built-in tools. This mirrored setup ensured full data redundancy, allowing the system to continue operating in the event of a single drive failure.
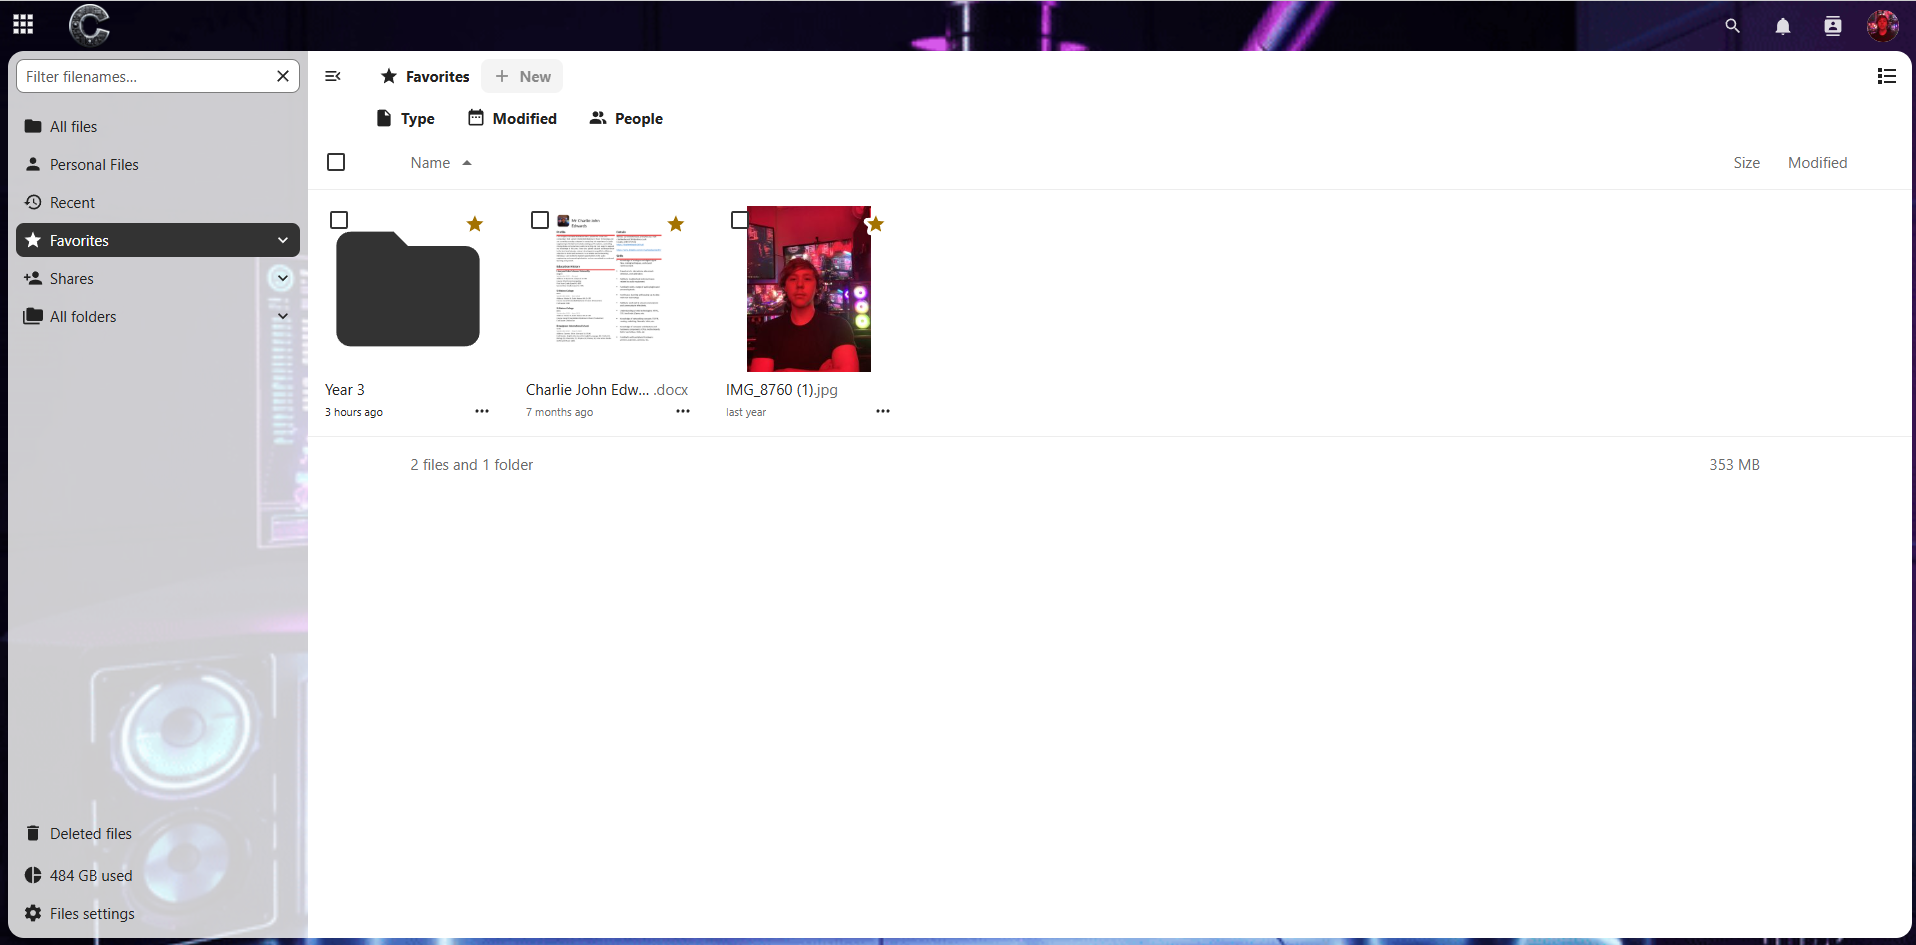
 Next, I deployed a TurnKey Nextcloud container via the Proxmox web interface. This gave me a fully functional private cloud, accessible from both my local network and remotely. It provided a central place for storing and syncing files across devices, effectively replacing the need for commercial cloud storage services.
 To enable secure external access, I configured remote connectivity through Cloudflare. This allowed me to access my Nextcloud instance from outside the network without exposing ports directly or compromising security.
By the end of this first phase, the server was operating as a stable, self-hosted NAS with full remote access and mirrored storage built using affordable hardware and open-source software.
To enable secure external access, I configured remote connectivity through Cloudflare. This allowed me to access my Nextcloud instance from outside the network without exposing ports directly or compromising security.
By the end of this first phase, the server was operating as a stable, self-hosted NAS with full remote access and mirrored storage built using affordable hardware and open-source software.
Phase 2: Hosting a Personal Website with WordPress
May 2024
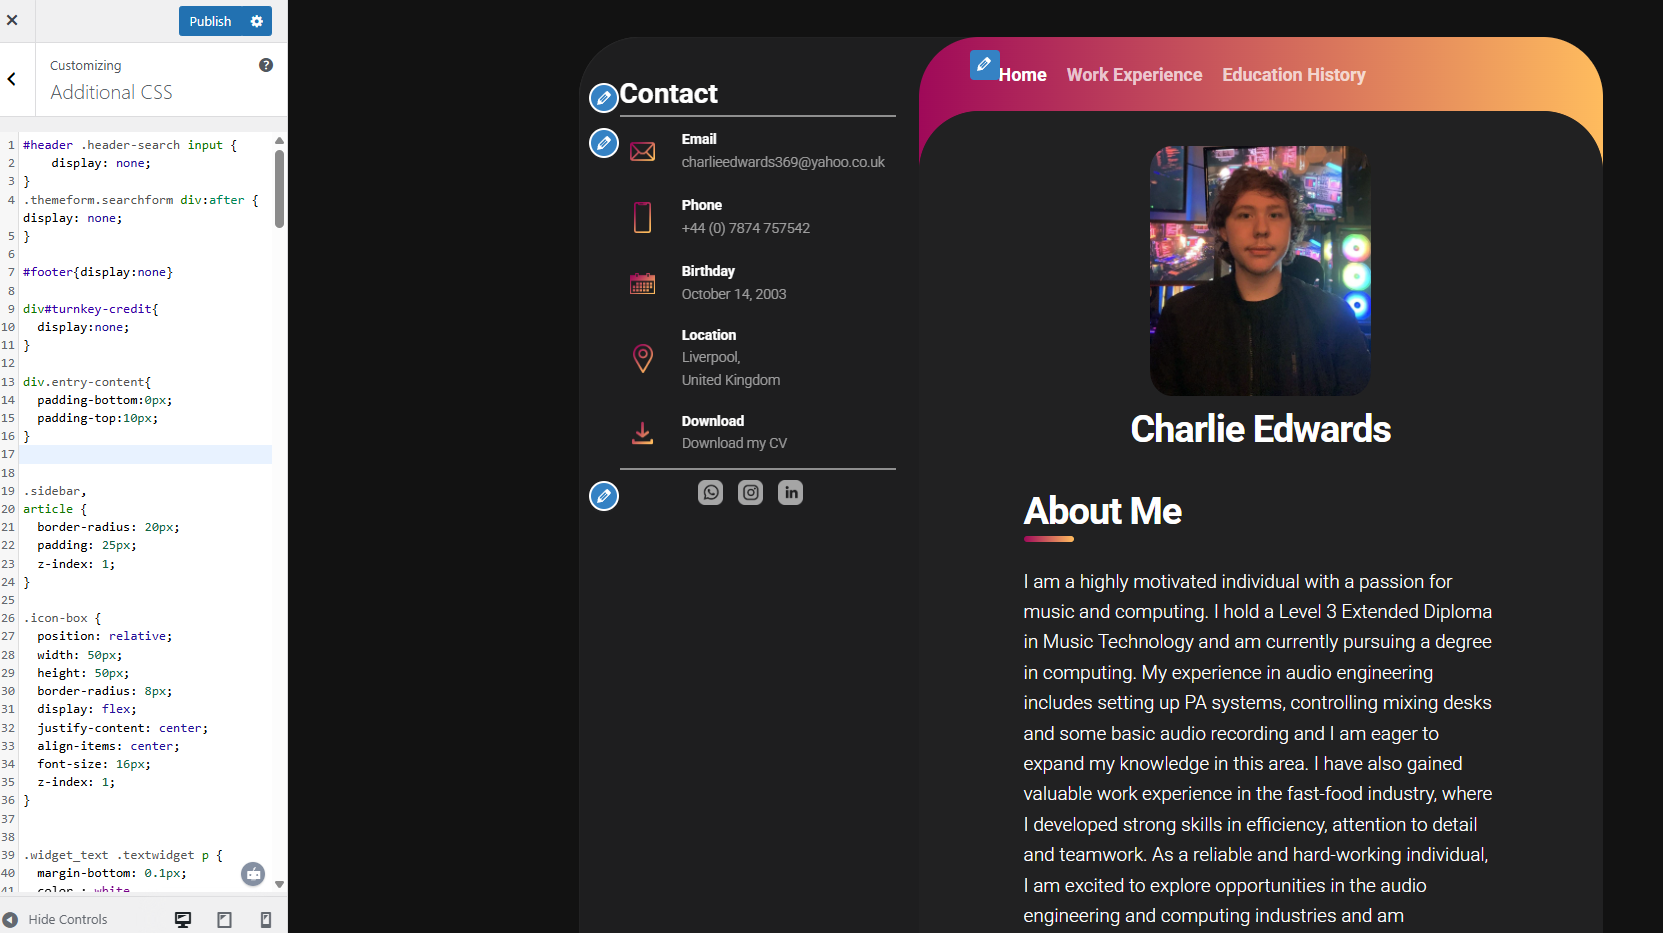
With the server operating smoothly and handling cloud storage without issue, I decided to expand its functionality by hosting my personal CV online. The aim was to create a clean, accessible site I could use professionally — something I could share with potential employers or collaborators as a self-managed alternative to platforms like LinkedIn or hosted portfolio sites.
To deploy the site, I launched a TurnKey Linux container running WordPress through the Proxmox interface. The setup process was straightforward, allowing me to get the site online quickly with all the necessary backend services — including a web server, database, and WordPress itself — preconfigured and ready to go.
I configured a subdomain and set up DNS via Cloudflare, routing traffic securely to the server using encrypted tunnelling. This ensured that the site could be accessed externally without exposing any critical services or ports on the local network.
Although WordPress made it easy to get started, I made extensive use of custom HTML and CSS to achieve the layout and functionality I wanted. This included tailoring the page structure to cleanly present my CV and making responsive adjustments for better readability across devices. The styling and structural work were done manually, drawing on front-end development skills I developed during my degree. These changes allowed me to go beyond standard themes and create something that felt both personal and professional.
 Hosting the site on my own server gave me full control over availability, updates, and design — and provided a real-world application for the skills I had been learning throughout university. It also marked a shift in the server’s purpose: from a private cloud to a self-hosted platform supporting both backend services and public-facing content.
Phase 3: Integrating OnlyOffice for Document Editing
February 2025
As I began using Nextcloud more regularly, it became clear that having in-browser document editing would significantly improve the overall workflow. Rather than downloading files locally and reuploading them after making changes, I wanted a solution that allowed real-time editing directly within the Nextcloud interface. OnlyOffice provided exactly that functionality. To deploy the document server, I opted to use Docker. This kept the installation process clean and modular, avoiding the need to set up an entirely new virtual machine or reconfigure existing containers. I installed Docker directly on the Proxmox host and pulled the official OnlyOffice Document Server image. The container was configured with appropriate resource limits to ensure it could run efficiently without affecting the performance of other services. Once the container was running, I connected it to Nextcloud using the built-in integration settings. The process was straightforward and required minimal additional setup. After testing the connection, documents could be opened and edited directly through the browser with full support for collaborative editing and file versioning. Adding OnlyOffice has significantly improved the usability of the server as a personal productivity platform. It has made Nextcloud a true replacement for commercial alternatives by combining secure file storage with the flexibility of online document editing. This phase also served as a practical introduction to Docker-based deployment and container networking, further expanding the server’s capabilities and my own skill set.
Phase 4: Network Reconfiguration and Infrastructure Optimisation
April 2025
This phase began after switching internet providers, which provided an opportunity to redesign the home network to better support the self-hosted environment. Alongside the change in service, I purchased and configured a new router: the ASUS ZenWiFi AX (XT9), a high-performance tri-band mesh system with Wi-Fi 6 support. Rather than simply plugging the server back in and resuming previous configurations, I used the transition as a chance to reconfigure the internal network layout from scratch. This included setting up a dedicated LAN for the server and related devices, as well as a separate guest network for improved access control. The process involved configuring LAN and WAN settings manually through the router’s interface, giving me practical experience with network segmentation, DHCP management, and routing behaviour. To ensure consistent connectivity for services hosted on the Proxmox server, I assigned static IP addresses to the containers running key services such as Nextcloud and WordPress. This made managing access rules, DNS entries, and internal connections significantly more straightforward, particularly as the number of hosted services continued to grow. While this wasn’t a complex enterprise setup, it was the first time I had fully planned and deployed my own local network from scratch. It gave me hands-on experience with configuring private infrastructure and introduced me to the fundamentals of managing a home lab environment with long-term flexibility in mind.
Future Updates Planned
The next planned step for this project is a full hardware migration to improve both reliability and expandability. The current server is still running in its original HP ProDesk 400 G4 SFF chassis, which limits internal drive capacity. One of the 4TB NAS drives is currently running through an external USB enclosure due to the lack of internal bays, which is not ideal for long-term stability or cable management. To resolve this, I plan to move the system into a HP 290 G1 MT Desktop case. The larger form factor will allow me to install all storage internally, removing the need for the external drive adapter and reducing potential points of failure. Alongside the case upgrade, I also plan to increase the system’s memory. The current 8GB of RAM has been sufficient for lightweight container workloads, but with the number of services growing, additional memory will improve performance and allow for more flexibility with virtual machines and Docker containers. This hardware transition will bring the system closer to a dedicated home lab setup, with improved airflow, cleaner internal layout, and better support for future expansion.