

Resin 3D Printing for Custom Keycaps
Overview
This project began as a continuation of earlier experiments in creating artisan keycaps, with the goal of producing custom, high-detail designs tailored to my own mechanical keyboard builds. My initial approach in August 2024 involved resin casting using silicone keycap moulds and clear epoxy resin, incorporating recycled materials like components from broken motherboards. Although this method produced visually promising results, it introduced issues with switch fitment that ultimately led me to adopt a more precise fabrication process using a resin 3D printer. Later that year, I transitioned to using a Halot Mage 8K resin printer, which provided the precision and consistency required to successfully produce detailed keycaps. Resin printing was chosen for its high resolution and surface quality, making it ideal for small, intricate parts. The goal remained the same: to create functional, visually striking keycaps that reflect personal design preferences while gaining practical experience in additive manufacturing, CAD, and post-processing.
Skills Learned
Throughout this project, I gained hands-on experience with two distinct fabrication methods. During the initial casting phase, I learned how to desolder components from damaged PCBs, prepare small-scale resin moulds, and experiment with mixed-material aesthetics. This also taught me valuable lessons about the limitations of low-budget casting techniques and the importance of mould precision. After shifting to 3D printing, I developed a working knowledge of resin slicing, model orientation, and support generation using Lychee Slicer. I also learned how to post-process prints with water-based curing methods, fine-tune tolerances for keycap stems, and design custom shapes using Tinkercad. In parallel, I explored Autodesk Fusion as a next step for more advanced modelling. This process deepened my understanding of materials, tolerancing, and CAD workflows tailored for functional parts.
Tools and Tech Stack
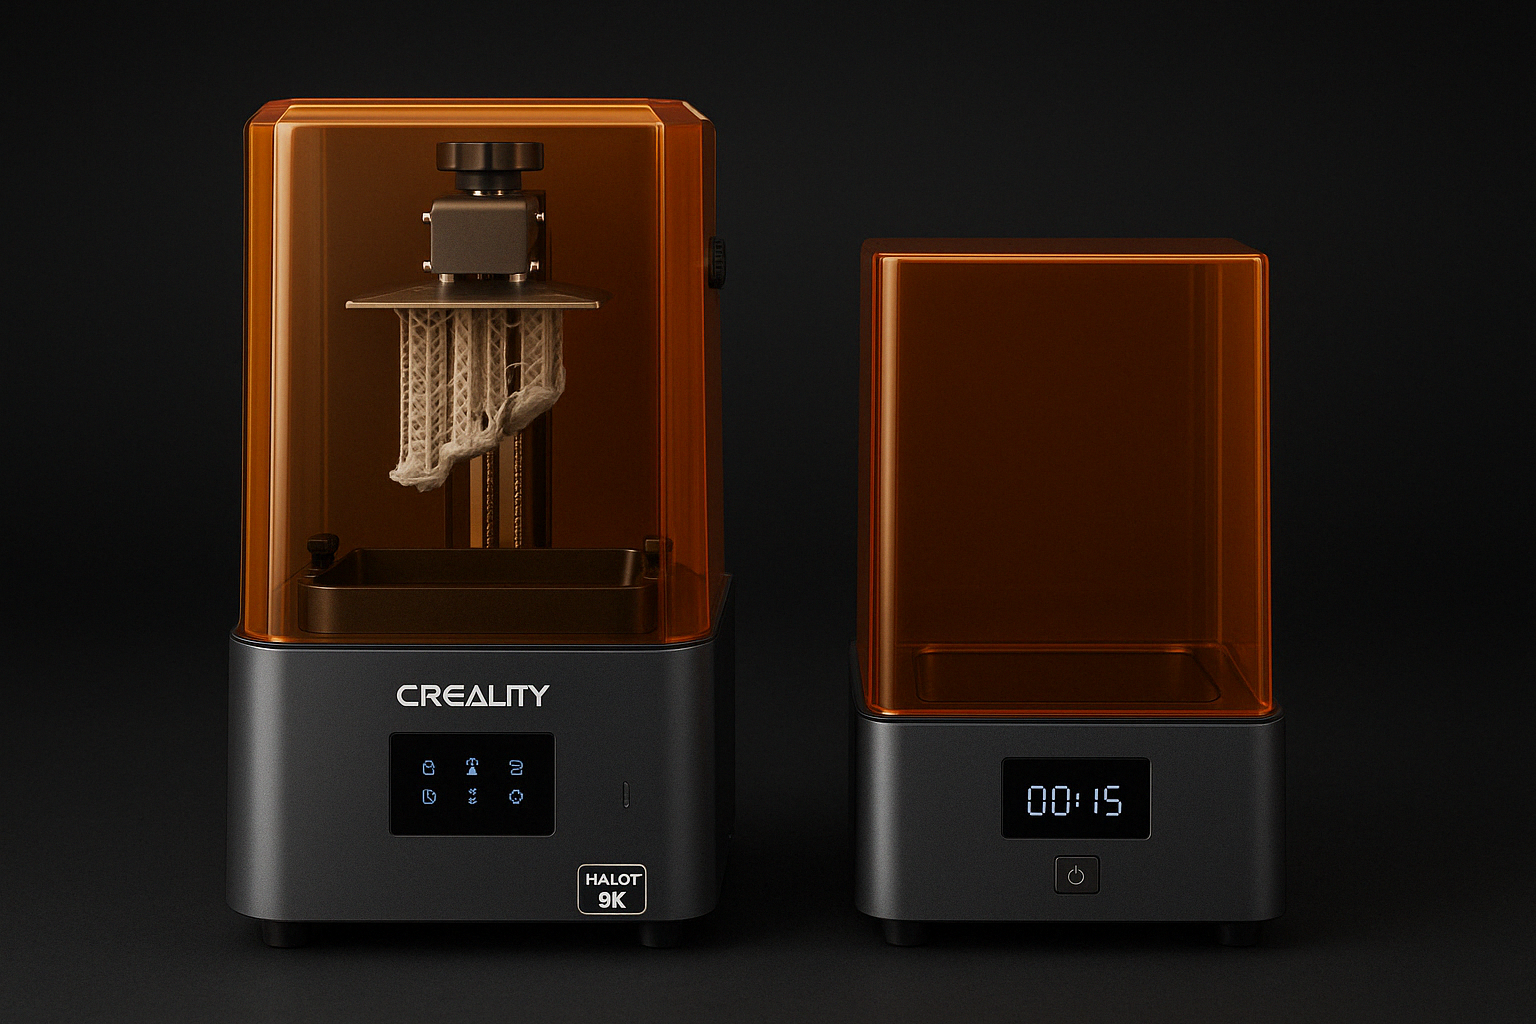
The project was powered by a Halot Mage 8K resin printer, chosen for its high-resolution capabilities essential for detailed keycap production. Printing was done using ANYCUBIC’s upgraded water-washable 405nm UV-curing grey resin, which offered both precision and ease of post-processing. Designs were primarily created in Tinkercad, with additional exploration in Autodesk Fusion for more complex modelling. Slicing and print preparation were handled through Lychee Slicer, where support structures and orientations were optimised for small, intricate prints. Completed keycaps were cleaned and cured using a dedicated wash and cure station with water rinsing and UV exposure. Prior to using a 3D printer, early experimentation was carried out with clear epoxy resin, silicone keycap moulds, and salvaged components from broken PCBs — introducing hands-on experience with desoldering, hardware recycling, and the challenges of precision casting.
Project Log
Phase 1: Resin Casting with Recycled Components
August 2024
The project began with an attempt to cast keycaps using clear epoxy resin and silicone moulds. Inspired by artisan keycaps, I designed unique inserts using scrap materials sourced from broken motherboards, which I disassembled and cleaned by hand. This process introduced me to basic desoldering techniques and component recovery. Although the casting process produced visually appealing results and cured successfully, the stem portion of the mould was unreliable. Most of the caps looked promising but failed to fit securely onto mechanical switches, making them unusable in practice. This was due to imprecise mould geometry rather than issues with the resin or casting technique. Despite the outcome, the phase was a valuable learning experience in handling resins, desoldering and repurposing electronic components, and understanding the mechanical tolerances required for functional keycap design.
Phase 2: Transition to Resin 3D Printing
December 2024
To improve consistency and control, I transitioned to using a Halot Mage 8K resin printer. I began by sourcing pre-supported MX-style keycap bases from Thingiverse and designing custom tops in Tinkercad to create unique profiles. The keycaps were carefully tuned for height, alignment, and stem tolerances, ensuring reliable fitment on a variety of switch types. Using Lychee Slicer, I experimented with print orientation and support settings to minimise scarring and improve surface finish. Each print was washed with water and cured under UV light using a dedicated station. Throughout this process, I began experimenting with Fusion 360 to plan future designs that required more complex shaping and parameter control. The transition from casting to printing significantly improved both output quality and workflow reliability, while still allowing for the same level of creativity and customisation.
Future Updates Planned
Due to safety and ventilation limitations in shared student accommodation, the project is currently paused. Resin printing will resume once a suitable workspace becomes available. Looking ahead, I plan to explore surface finishing techniques, painting, and even resin casting using 3D printed masters. I also intend to add a filament-based FDM printer to my toolkit, enabling larger prints and expanding the scope of future projects beyond keycaps.